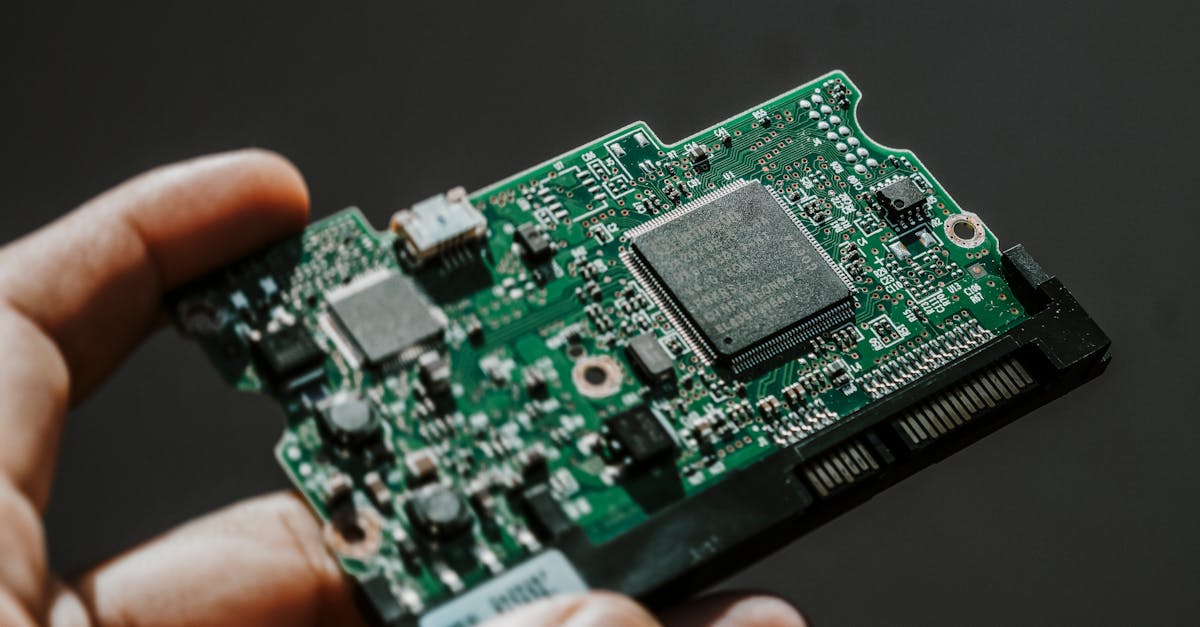
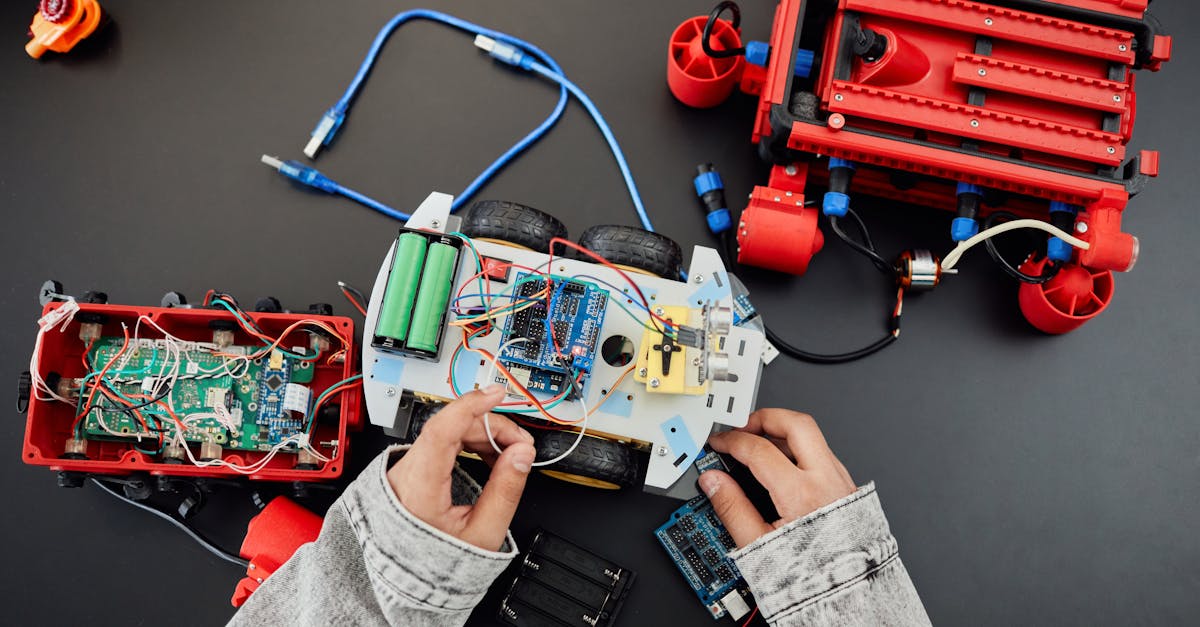
You have spent weeks perfecting your ESP32 sensor node. The code is solid, the wiring is clean, and readings are accurate. Then you leave it on a shelf, and within a month dust has settled on exposed pins, a wire has snagged and pulled loose, and the whole thing looks like a science fair reject. The fix is straightforward: put it in an enclosure. And if you have access to a 3D printer — or a printing service — you can build one that fits your project perfectly, for less than the cost of a meal.
This guide covers everything you need to go from a bare PCB sitting on your desk to a properly housed, mounted, and optionally weatherproofed electronics project.
Why Enclosures Matter
An enclosure is not just cosmetic. It solves real engineering problems.
Physical protection. Exposed PCBs collect dust, suffer accidental shorts from stray wires or metal objects, and are fragile against drops. A 2mm wall of plastic absorbs impacts that would crack a bare board.
Professional appearance. If you are building something for a client, a workshop, or even your own home automation setup, a proper enclosure transforms a "prototype" into a "product." Label it, paint it, and nobody needs to know it started on a breadboard.
Mounting. You cannot screw a bare NodeMCU to a wall. An enclosure gives you screw tabs, DIN rail clips, or magnet recesses — whatever your installation demands.
Safety. This is the most important reason. Any project involving mains voltage (relay modules switching 230V AC, power supplies, SSRs) must be enclosed. Exposed mains connections are a serious shock and fire hazard. An enclosure with proper creepage distances and strain relief on mains cables is not optional — it is a safety requirement.
Environmental protection. Outdoor sensor nodes face rain, UV, temperature swings, and insects. A well-designed enclosure with gaskets and sealed cable entries keeps your electronics running for years.
3D Printing Basics for Electronics Makers
If you are new to 3D printing, here is what matters for enclosure work.
FDM vs Resin
| Factor | FDM (Filament) | Resin (SLA/MSLA) |
|---|---|---|
| Cost per part | Low (Rs 20-100 for an enclosure) | Medium (Rs 80-300) |
| Strength | Good to excellent | Brittle unless using tough resin |
| Layer lines | Visible (0.2mm typical) | Nearly invisible (0.05mm) |
| Best for | Functional enclosures, mounting brackets | Display pieces, very fine detail |
| Post-processing | Sanding, painting | Washing, curing, painting |
| Printer cost | Rs 12,000-30,000 (Ender 3, etc.) | Rs 15,000-40,000 |
For enclosures, FDM wins. It is cheaper, stronger, and the layer lines do not matter for a functional box. Resin is overkill unless you need a very polished look.
Material Selection
Choosing the right filament is critical. The wrong material in the wrong environment will warp, crack, or degrade within weeks.
| Material | Temp Resistance | UV Resistance | Strength | Ease of Printing | Best Use |
|---|---|---|---|---|---|
| PLA | Up to 55-60 C | Poor | Moderate | Easiest | Indoor projects, prototypes |
| PETG | Up to 75-80 C | Good | Good | Easy | Outdoor sensors, general purpose |
| ABS | Up to 100 C | Moderate | Excellent | Difficult (warps, fumes) | High-temp: near power supplies, relay boxes |
| ASA | Up to 100 C | Excellent | Excellent | Moderate | Outdoor long-term, UV exposure |
| Nylon | Up to 80-110 C | Moderate | Excellent (impact) | Difficult (hygroscopic) | High-impact, mechanical stress |
The practical recommendation:
- Indoor, no heat source nearby — use PLA. It is cheap, prints easily, and looks great.
- Outdoor or near warm components — use PETG. It handles Indian summers (40 C+) without deforming and resists moisture.
- Next to a power supply, relay module, or motor driver — use ABS or ASA. These components can reach 70-90 C surface temperatures, which will soften PLA.
A common mistake: printing an enclosure for a relay module in PLA. The relay and surrounding traces heat up during switching, and over weeks the PLA around the relay softens and deforms. Use ABS or PETG minimum for anything that switches power.
Designing Your Enclosure
Software Options
TinkerCAD (browser-based, free) — Best for beginners. Drag-and-drop interface. Limited for complex features like snap-fits, but perfect for basic boxes with cutouts. You can design a functional ESP32 enclosure in 30 minutes on your first try.
FreeCAD (desktop, free, open-source) — Parametric modelling. Steeper learning curve, but once you learn the Part Design workbench, you can create professional enclosures with precise dimensions. Excellent for iterating on designs since changing one dimension updates everything.
Fusion 360 (desktop, free for personal use) — The most capable option. Parametric, has built-in simulation, and a massive community with tutorials. Most electronics enclosure tutorials online use Fusion 360.
Beginner workflow (TinkerCAD):
- Create a box with your outer dimensions
- Create a slightly smaller box and use it as a "hole" to hollow out the interior
- Add cutout holes for USB, power, sensor cables
- Add screw boss cylinders at the corners
- Create a separate lid piece with matching screw holes
- Export as STL, slice, and print
Key Measurements You Need
Before opening any CAD tool, measure your boards. Here are common dimensions to save you time:
| Board | Length x Width (mm) | Mounting Holes | Hole Spacing |
|---|---|---|---|
| ESP32 DevKitC V4 | 51.0 x 28.0 | None (use pin headers or side clips) | |
| ESP32-WROOM-32 module | 25.5 x 18.0 | N/A (soldered to carrier) | |
| NodeMCU ESP8266 | 58.0 x 31.0 | None standard | |
| Arduino Uno R3 | 68.6 x 53.4 | 4 holes, M3 | See Arduino docs |
| Arduino Nano | 45.0 x 18.0 | None (use pin headers) | |
| Raspberry Pi 4 | 85.0 x 56.0 | 4 holes, M2.5 | 58 x 49mm |
| DHT22 sensor | 25.0 x 15.0 x 9.0 (body) | None | |
| HC-SR04 ultrasonic | 45.0 x 20.0 | 2 holes | 40mm apart |
| 5V relay module (1ch) | 50.0 x 26.0 | 2 holes, M3 | ~43 x 18mm |
| BME280 breakout | 13.0 x 10.5 | 2 holes, M2 | |
| OLED 0.96" (SSD1306) | 27.0 x 27.0 (PCB) | 2 holes, M2 | 23.5mm apart |
Always verify with calipers. These are typical values, but clone boards from different manufacturers vary by 1-2mm. A Rs 300 digital caliper is the single most useful tool for enclosure design.
Design Rules That Save Reprints
These rules come from printing dozens of enclosures and learning what fails.
Wall Thickness
- Minimum: 1.5mm for small enclosures (under 60mm)
- Recommended: 2.0-2.5mm for general use
- Heavy duty: 3.0mm for outdoor or high-impact applications
Walls thinner than 1.5mm are fragile and difficult to print cleanly. Walls thicker than 3mm waste material and print time without meaningful strength gain.
Tolerances
This is where most first designs fail. 3D printers are not perfectly precise.
- Clearance fit (parts slide in): Add 0.3-0.5mm per side. If your PCB is 28mm wide, make the slot 28.6-29.0mm.
- Press fit (parts stay put by friction): Add 0.1-0.2mm per side.
- Screw holes for M3 self-tapping screws: Print at 2.5mm diameter (the screw cuts its own thread).
- Through holes for M3 bolts: Print at 3.4mm diameter.
Print a tolerance test piece first if you are unsure about your printer. Every printer is slightly different.
Screw Bosses
For PCB mounting, add cylindrical bosses rising from the floor of the enclosure:
- M2.5 standoff: Boss outer diameter 6mm, hole diameter 2.2mm, height 4-6mm
- M3 standoff: Boss outer diameter 7mm, hole diameter 2.7mm, height 4-6mm
Add a small fillet (1mm radius) at the base of each boss to prevent stress cracking.
Snap-Fit Tabs
For tool-free assembly, snap-fit tabs are excellent. The basic design:
- A flexible cantilever tab on the lid (1.5mm thick, 8-10mm long)
- A matching ledge on the box wall
- Deflection of 0.5-0.8mm for easy engagement
- Print the tab along the layer lines (horizontal), not across them, or it will snap off
Ventilation
Any enclosure containing components that generate heat needs ventilation holes. This includes:
- Voltage regulators (AMS1117 on most ESP32 boards runs warm)
- Relay modules
- Motor drivers (L298N, A4988)
- Power supplies and buck converters
- LED drivers
Design ventilation as a grid of 2-3mm diameter holes or a slot pattern on opposing sides to create airflow. Place intake holes low and exhaust holes high (heat rises). For dusty environments, you can design a press-fit mesh filter holder.
Cable Management
Strain Relief
A cable yanked from its solder joint is the most common field failure. Prevent it with strain relief:
- Zip-tie anchors: Print a slot or two bumps spaced 4mm apart near each cable entry. A zip tie around the cable locks it in place.
- Cable clamps: A printed C-shaped clamp that screws down over the cable at the entry point.
- Printed strain relief: A tapered channel that grips the cable jacket. More complex to design but the cleanest solution.
Cable Glands
For weatherproof enclosures, use standard metric cable glands:
| Gland Size | Cable Diameter | Thread | Hole to Drill/Print |
|---|---|---|---|
| PG7 | 3-6.5mm | 12.5mm | 12.5mm |
| PG9 | 4-8mm | 15.2mm | 15.2mm |
| PG11 | 5-10mm | 18.6mm | 18.6mm |
Cable glands cost Rs 10-25 each and provide a proper IP68 seal. Print the hole slightly undersized (0.3mm less) and ream it to fit — a tight thread engagement is better than a loose one.
USB Port Cutouts
For ESP32/Arduino boards powered via USB:
- Micro USB: Cutout 8.0 x 3.5mm, positioned to match the port centre height
- USB-C: Cutout 9.5 x 4.0mm
- Add 0.5mm margin on each side for cable plug clearance
Round the corners of USB cutouts with a 1mm radius — sharp corners are stress concentrators and look rough when printed.
ESP32 Enclosure: Design Walkthrough
Here is a practical step-by-step for housing an ESP32 DevKitC with a DHT22 sensor and USB power.
Step 1: Measure everything.
- ESP32 DevKitC: 51 x 28mm, 13mm tall with pin headers
- DHT22: 25 x 15 x 9mm body, 3 sensor pins
- USB Micro port: centred on the short edge, 3mm from PCB bottom
Step 2: Calculate internal dimensions.
- Length: 51mm (ESP32) + 5mm clearance each end = 61mm
- Width: 28mm + 15mm (DHT22 beside it) + 5mm clearances = 53mm
- Height: 13mm (ESP32 with headers) + 6mm standoff + 3mm clearance above = 22mm internal
Step 3: Calculate external dimensions.
- Add 2 x 2.5mm walls: 66 x 58 x 27mm (L x W x H)
- Plus 2.5mm floor and 2.5mm lid
Step 4: Add features.
- 4x M2.5 screw bosses at corners (the ESP32 DevKitC has no mounting holes, so use side clips or a cradle that grips the pin header rows)
- USB cutout on the short wall: 8 x 3.5mm, centred, 8.5mm from the floor (matching port height on standoffs)
- DHT22 slot: rectangular opening on the opposite wall, 15 x 10mm, with a small lip to hold the sensor body
- Ventilation: 6x 2.5mm holes on the top surface above the ESP32's voltage regulator
- Zip-tie anchor near the USB cutout for power cable strain relief
Step 5: Design the lid.
- Flat lid with 4x M2.5 through holes matching the box corner bosses
- 1mm lip around the perimeter that fits inside the box walls (clearance fit, 0.3mm gap)
Step 6: Print settings.
- Material: PLA (indoor use)
- Layer height: 0.2mm
- Infill: 20% (adequate for an enclosure)
- Walls: 3 perimeters (gives ~1.2mm wall from perimeters alone, plus infill)
- Print the box upside-down (opening facing up) for best surface quality on the outside
- Print the lid flat
Total print time: approximately 2-3 hours. Material cost: Rs 15-30.
Waterproofing for Outdoor Use
For outdoor sensor nodes (weather stations, soil moisture monitors, gate controllers), you need to think about water ingress.
IP65 Design Tips
IP65 means "dust-tight and protected against water jets." For most outdoor electronics, this is sufficient.
- Lid seal: Add a 1.5mm wide x 1.5mm deep groove around the lid perimeter. Insert a 2mm O-ring (available on Amazon India for Rs 50-100 in bulk). Silicone O-rings are best for temperature range.
- Sealed cable entries: Use PG cable glands (see table above) for every cable entry. No open holes.
- Orientation: Mount with cable entries pointing downward. Water drips off instead of pooling at entry points.
- Drip loops: Leave a small loop of slack in external cables below the enclosure. Water follows the cable down to the loop's lowest point and drips off instead of running into the gland.
- Mounting: Stainless steel screws and nylon wall plugs. Mild steel rusts within months outdoors in Indian humidity.
Material for Outdoor
Use PETG minimum. For prolonged direct sunlight, use ASA. PLA will deform in a south-facing installation during Indian summers — surface temperatures on a dark-coloured enclosure in direct sun can exceed 70 C.
Print in a light colour (white or light grey) to reduce solar heat absorption.
Post-Processing
Sanding
Start at 120 grit to remove layer lines, work up to 400 grit for a smooth finish. Wet sanding at 400+ grit gives excellent results on PLA and PETG.
Painting
- Sand to 320 grit
- Apply filler primer (available at auto paint shops, Rs 200-400 per can)
- Sand primer with 400 grit
- Spray paint in thin coats
- Optional clear coat for durability
Acetone Smoothing (ABS Only)
ABS dissolves in acetone vapour, which melts the layer lines into a smooth, glossy surface. Place the print in a sealed container with a small dish of acetone for 15-30 minutes. Monitor closely — too long and details melt away. This does not work with PLA or PETG.
Printing Services in India
You do not need to own a printer. Several services print and ship across India:
- Chizel.io — Online 3D printing service, upload STL, get a quote. Ships pan-India.
- Think3D — Hyderabad-based, offers FDM, SLA, and SLS. Good for functional parts.
- Makerspaces — Cities like Bangalore, Delhi, Mumbai, Pune, and Hyderabad have makerspaces with 3D printers available for hourly use. Search for "[your city] makerspace 3D printing."
- Local printing shops — Search on Instagram or Justdial for "3D printing service [your city]." Many small businesses operate Ender 3 farms and charge Rs 3-8 per gram.
- Online marketplaces — Freelancers on platforms offer printing services, often with design help included.
Typical costs: a simple ESP32 enclosure (30-50g of PLA) costs Rs 150-400 from a service, depending on material and finish.
Common Design Mistakes
Learn from the failures of others:
-
Too-tight tolerances. Your PCB is 28mm, you made the slot 28mm, and now it does not fit. Always add 0.3-0.5mm clearance per side.
-
No ventilation. Your ESP32 runs at 40 C normally. Seal it in a tight box and it runs at 60 C. Add ventilation holes for anything that generates heat.
-
Sharp internal corners. Stress concentrates at sharp corners, and they are hard to print cleanly. Add 1-2mm fillets on all internal corners.
-
Wrong screw sizes. M3 screws in M3 printed holes will crack the boss. For self-tapping: print the hole 0.3-0.5mm undersize. For bolt-through: print 0.4mm oversize.
-
Ignoring print orientation. Layer adhesion is the weakest direction. A snap-fit tab printed vertically (layers perpendicular to the flex direction) will snap immediately. Orient critical features so the layers run parallel to stress.
-
Forgetting the antenna. ESP32's PCB antenna is at one end of the board. Do not surround it with thick plastic or metal. Keep the wall thin (1mm) near the antenna, or add a cutout covered with a thin non-conductive material.
-
No assembly plan. Design the enclosure so you can actually get the board in, connect cables, and close the lid. If you need to solder wires after the board is mounted, you have a problem.
Free STL Resources
Before designing from scratch, check if someone has already made what you need:
- Printables.com (by Prusa) — Search "ESP32 case" or "Arduino enclosure." High-quality, well-documented designs. Community ratings help identify the good ones.
- Thingiverse.com — The largest repository. Search for your specific board. Quality varies, so read the comments and "Makes" section before printing.
- GrabCAD — More engineering-focused. Good for DIN rail mounts and industrial-style enclosures.
- Yeggi.com — Meta-search engine that searches across multiple STL repositories.
Many designs are parametric (OpenSCAD or Fusion 360 source files included), so you can modify dimensions to fit your specific board variant.
Cost Comparison
| Method | Unit Cost (simple ESP32 box) | Tooling Cost | Minimum Qty | Lead Time | Customisation |
|---|---|---|---|---|---|
| 3D Printed (own printer) | Rs 15-30 | Rs 15,000-25,000 (printer) | 1 | 2-3 hours | Total |
| 3D Printed (service) | Rs 150-400 | None | 1 | 3-7 days | Total |
| Off-the-shelf plastic box | Rs 50-200 | None | 1 | Immediate | Limited (drill holes) |
| Custom injection moulding | Rs 5-15 | Rs 50,000-2,00,000 (mould) | 500+ | 4-8 weeks | Total (but fixed after moulding) |
For 1-50 units, 3D printing is unbeatable. You get a perfect-fit enclosure with no tooling cost and can iterate the design freely.
For 50-500 units, 3D printing is still viable but slow. Consider a small printing farm or service bulk discount.
For 500+ units, injection moulding becomes cost-effective. The mould cost is high, but per-unit cost drops to a fraction of 3D printing.
Off-the-shelf boxes (available on Amazon India and electronics shops) are the fastest option, but you are limited to standard sizes and must drill/cut your own holes, which rarely looks clean.
Designing for Heat
Heat is the silent killer of enclosed electronics. Here are specific scenarios and solutions:
Relay modules: A 5V single-channel relay dissipates roughly 0.4W when energized. In a sealed box, this raises internal temperature by 10-15 C. Add ventilation slots on two opposing walls, each at least 30mm x 5mm. Use PETG or ABS.
Buck converters and voltage regulators: An LM2596 buck converter at 1A load dissipates about 1W. Print a chimney-style vent directly above the inductor and diode (the hottest components). Leave 5mm clearance between the component tops and the enclosure ceiling.
ESP32 under heavy Wi-Fi load: Continuous Wi-Fi transmission pushes the ESP32 module to 50-60 C. This is within spec, but in a sealed enclosure in a warm room, it can throttle. Simple solution: ventilation holes above the ESP32 module and below the enclosure for convection airflow.
Power supplies (Hi-Link, Mean Well PCB-mount): These can reach 70-80 C under full load. Use ABS enclosure material, add generous ventilation (at least 40% of the top surface as perforated holes), and mount the PSU on standoffs with thermal pads to the enclosure floor if heat spreading is needed.
General rule: If you can feel warmth on a component with your finger, it needs ventilation in the enclosure. If it is too hot to touch comfortably (above 50 C), it needs significant ventilation and a heat-tolerant enclosure material.
Wrapping Up
A well-designed enclosure transforms your electronics project from a fragile prototype into a durable, deployable product. The combination of affordable 3D printing, free CAD software, and readily available hardware (standoffs, cable glands, screws) means there is no reason to leave your projects bare.
Start simple: measure your board, design a basic box with a screw-on lid, and print it. Your first design will not be perfect — tolerances will be slightly off, a cutout will be 1mm too high, or you will forget a cable entry. That is normal. The beauty of 3D printing is that iteration costs almost nothing. Adjust the model, reprint, and within a few hours you have a better version.
Pick up an ESP32 DevKitC from Wavtron, fire up TinkerCAD, and build your first enclosure this weekend. Your projects deserve better than sitting naked on a shelf.